Before you begin, review the hardware requirements for the connector, and ensure that you have permissions to deploy an OVF template into an ESXi environment.
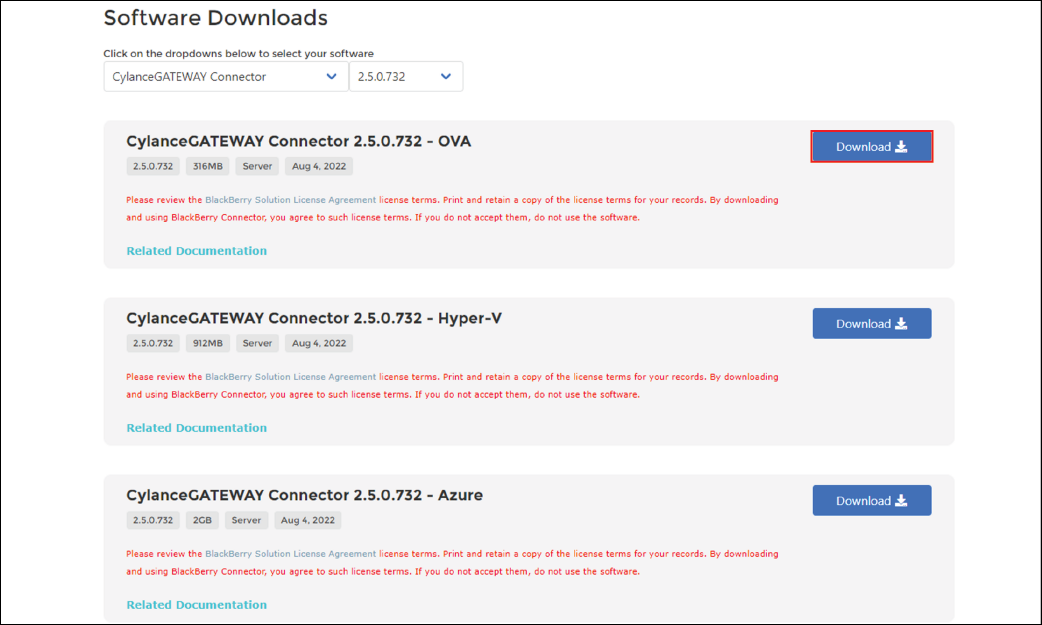
1. Download the CylanceGATEWAY Connector OVA file
You can download the cylance-gateway-connector-<version>.ova file from myAccount.
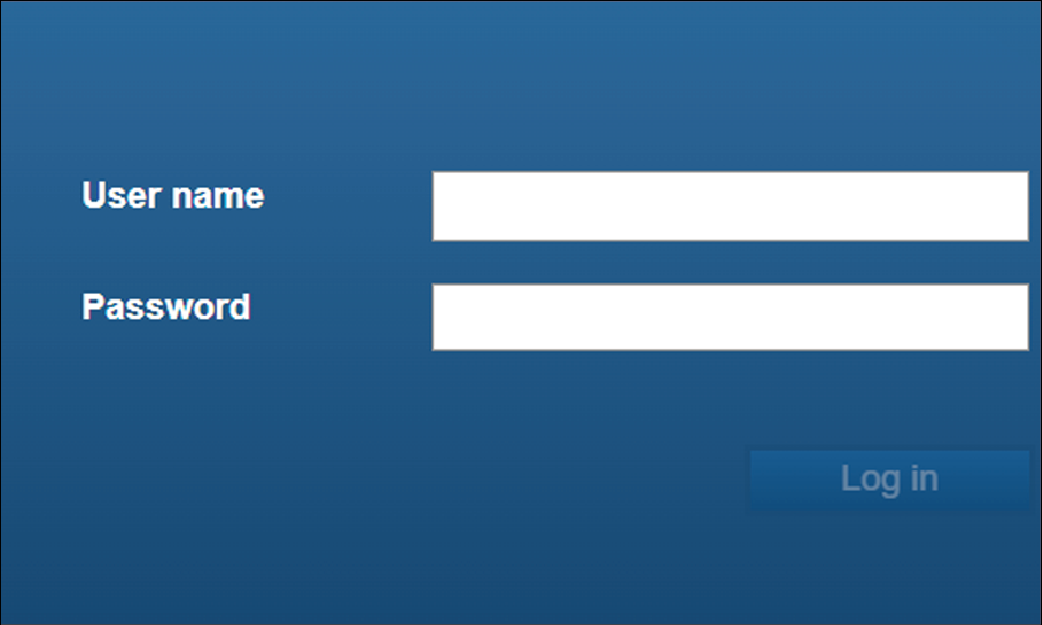
2. Log in to the ESXi environmnet
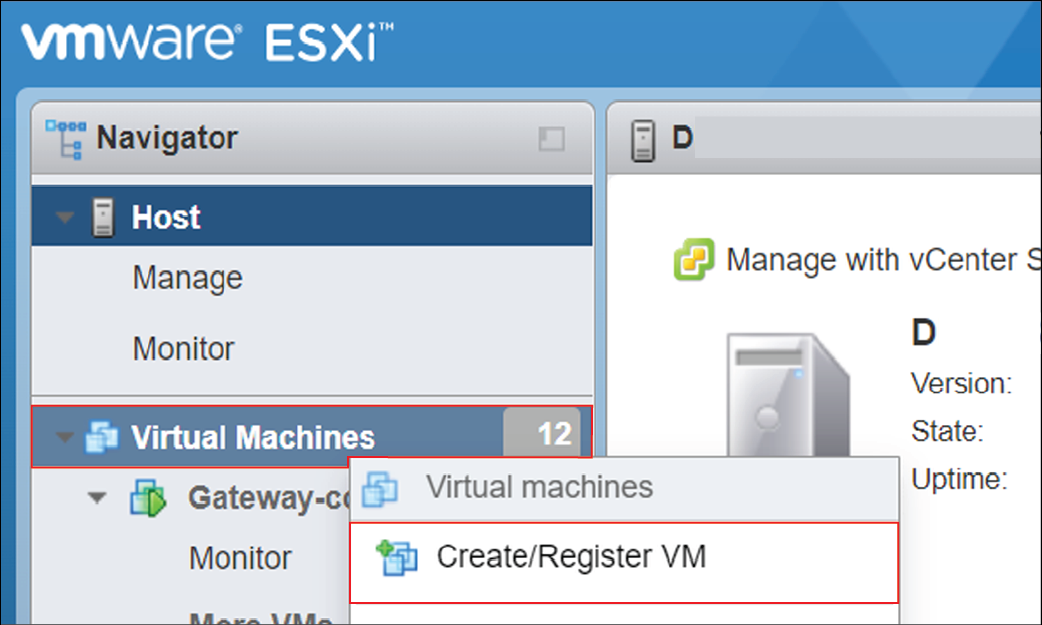
3. Register a virtual machine
Right-click Virtual Machines and click Create/Register VM.
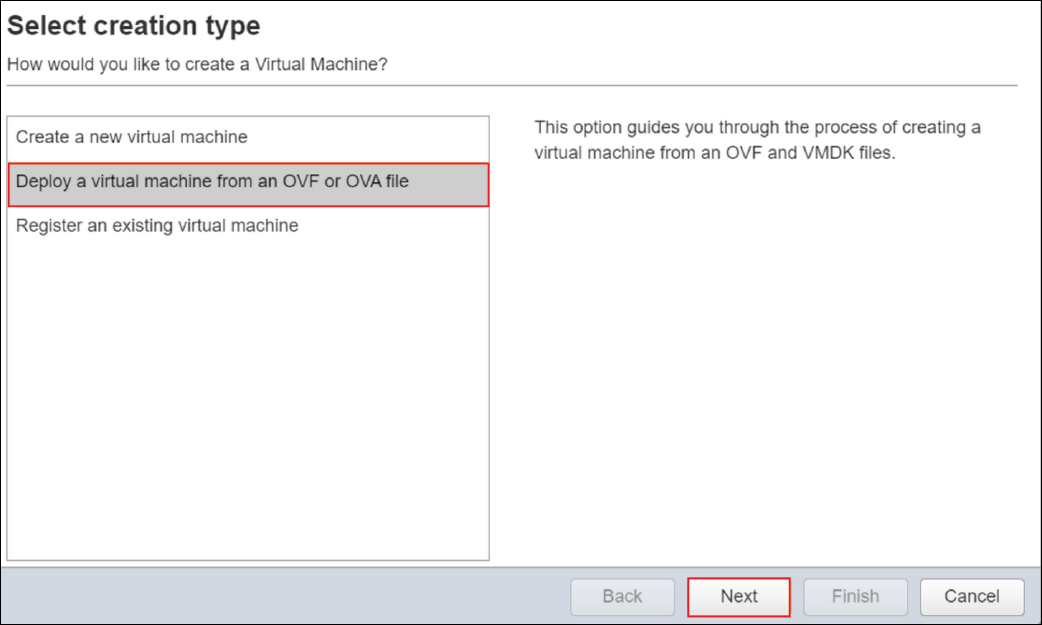
4. Click Deploy a virtual machine from an OVF or OVA file
Click Next.
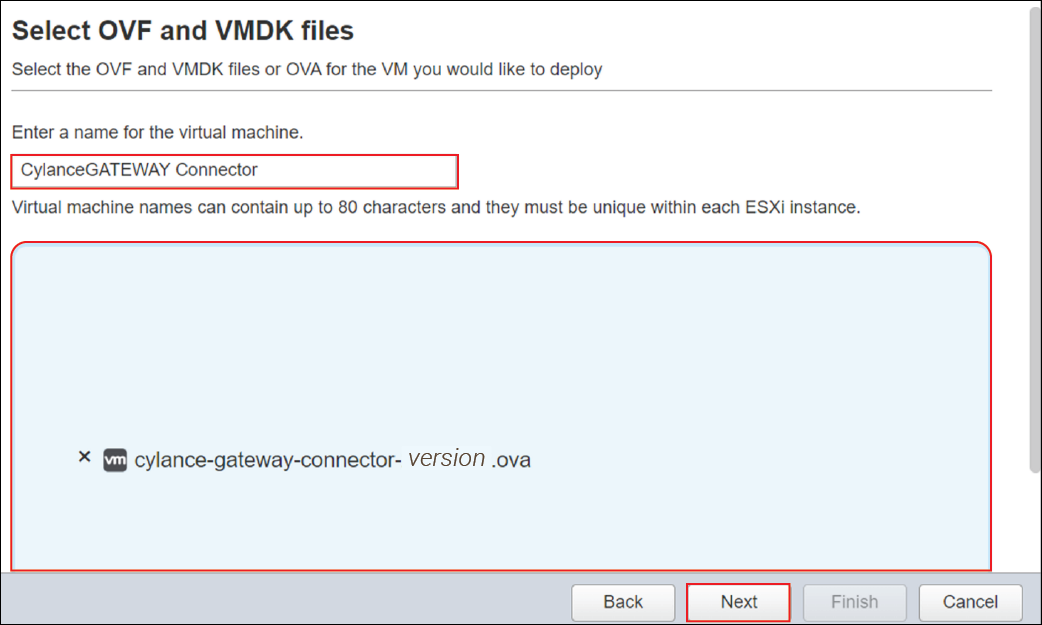
5. Upload the OVA file
Drag and drop the cylance-gateway-connector-<version>.ova file into the dialog box.
Type a name for the virtual machine, and click Next.
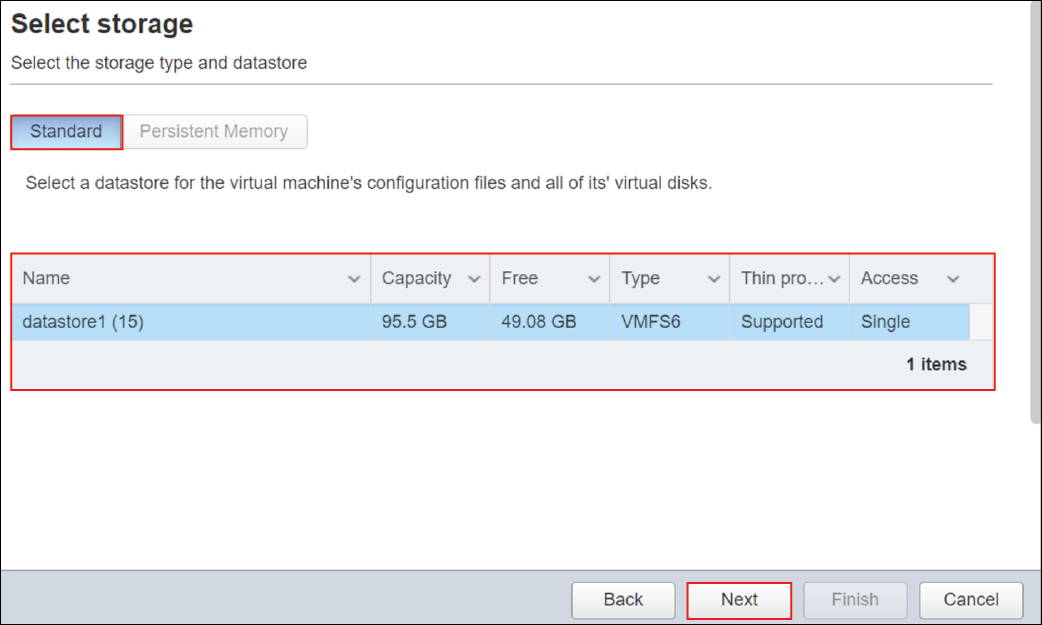
6. Select the Standard storage type and a datastore
Click Next.
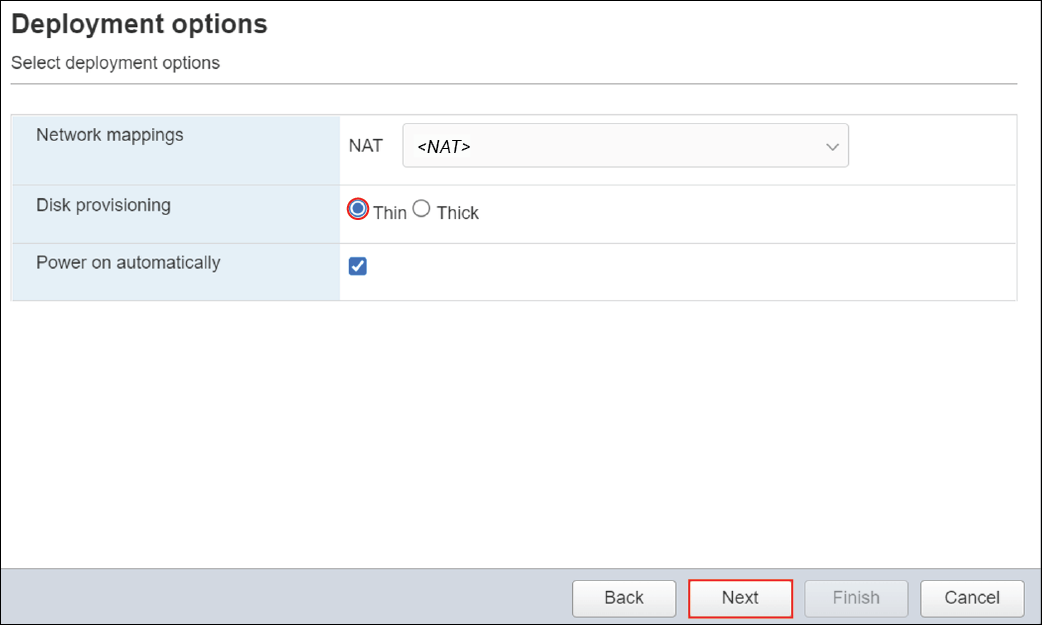
7. Select Thin for Disk provisioning
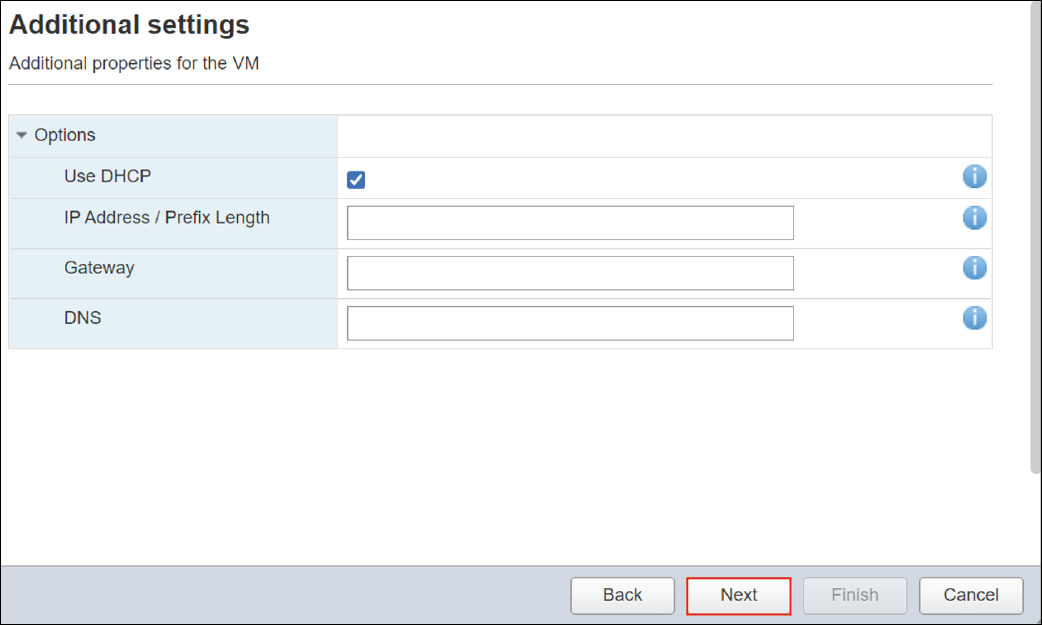
8. Optionally, specify VMWare properties
By default, the Use DHCP is enabled, and the connector uses automatically assigned IP addresses. If you want to configure the connector with a static IP address, you must clear the Use DHCP check box and provide the IP addresses for the following setting fields:
- IP address / Prefix Length: Specify the IP address and prefix that can be assigned to devices.
- Gateway: Specify the address for the network gateway/.
- DNS: Specify the IP address for the DNS servers that you want to use.
Click Next.
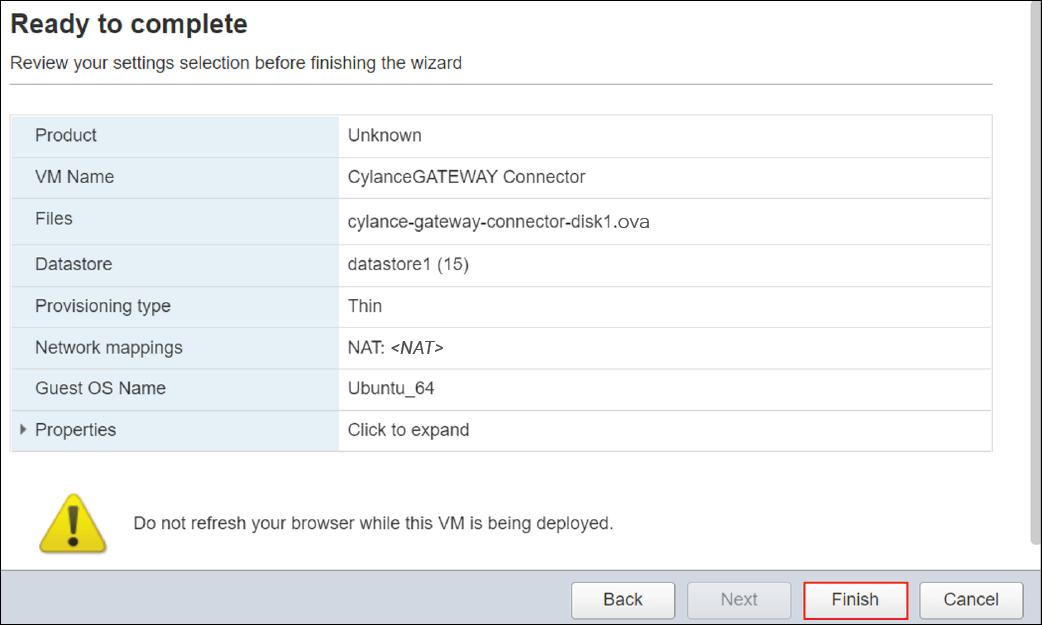
9. Review the configuration settings
Click Finish.
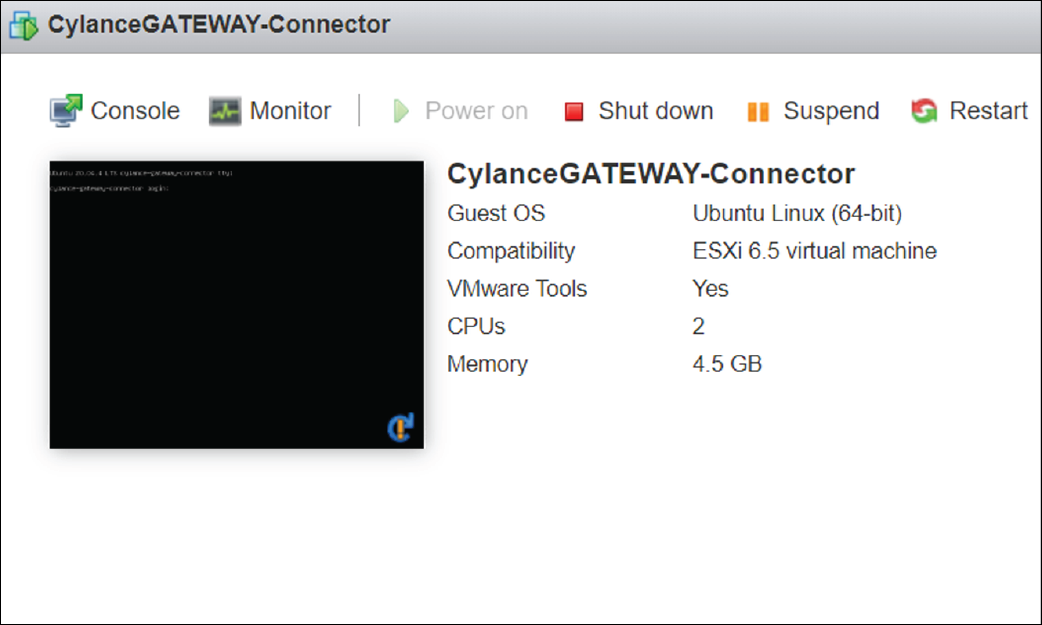
That's it!
You have successfully installed the CylanceGATEWAY Connector to your ESXi environment.
For instructions on how to verify that the OVA file is installed correctly in the virtual environment, see Configure the CylanceGATEWAY Connector in the VM environment.
After you install the CylanceGATEWAY Connector to your ESXi environment, you must configure your firewall and enroll the CylanceGATEWAY Connector with the BlackBerry Infrastructure. For more information about setting up your connector, see Setting up the CylanceGATEWAY Connector.