To install the CylanceGATEWAY Connector to a Microsoft Azure environment, review the hardware requirements and ensure that you meet the following requirements:
- The DNS is enabled in your Azure private network and can be accessed by your connector VM.
- The services that you want to make available through CylanceGATEWAY can be accessed by the CylanceGATEWAY Connector on your private network.
- You can deploy a VHD template into an Azure environment.
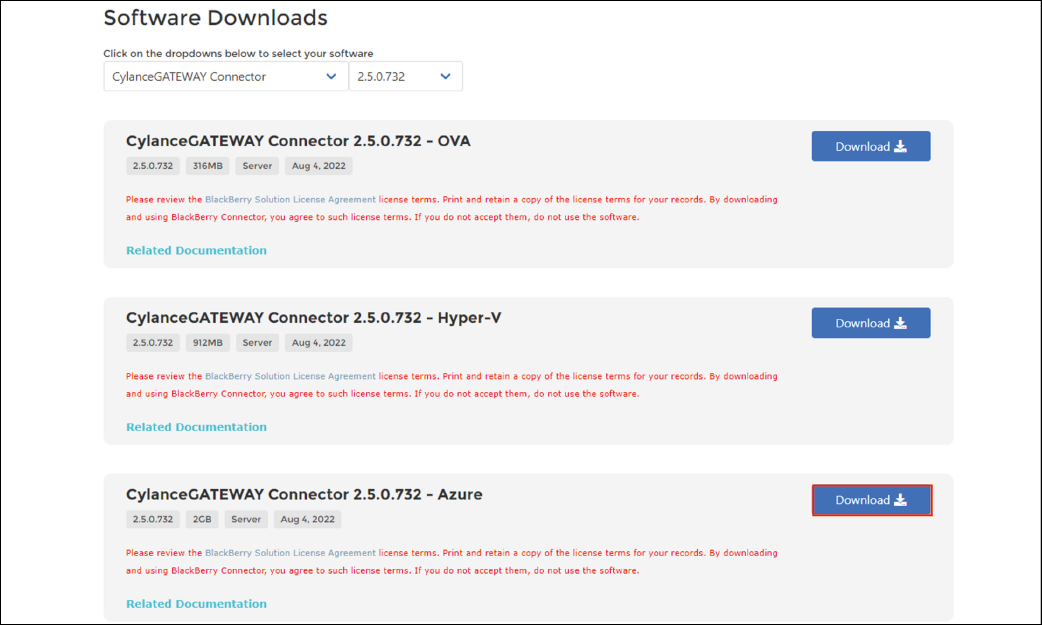
1. Download the CylanceGATEWAY Connector VHD file
You can download the cylance-gateway-connector-fixed-<version>.vhd file from myAccount.
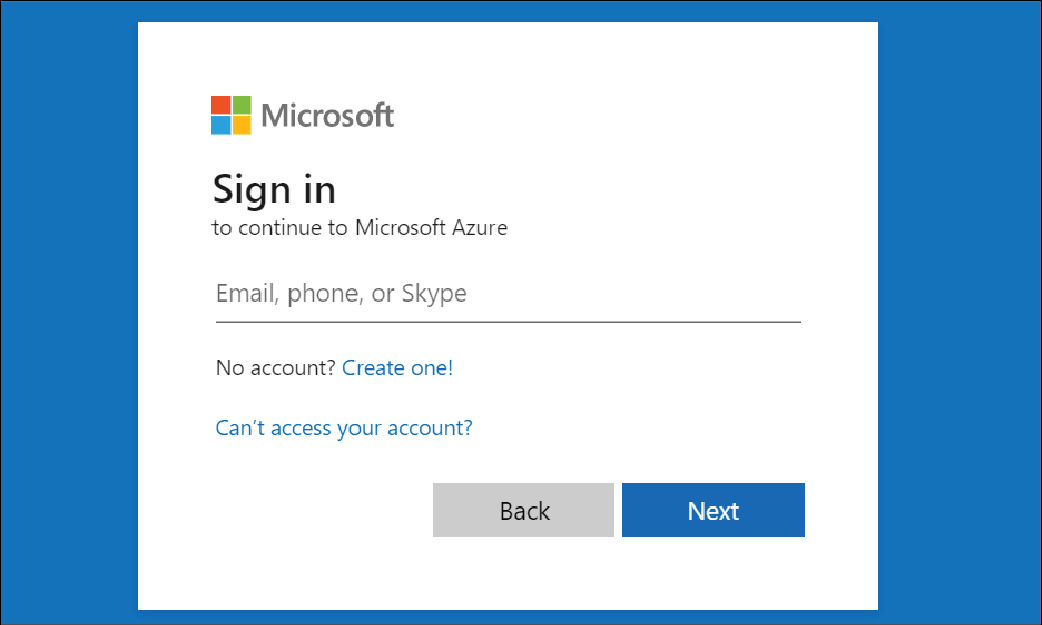
2. Sign in to the Microsoft Azure management portal
To sign in to the portal, go to portal.azure.com.
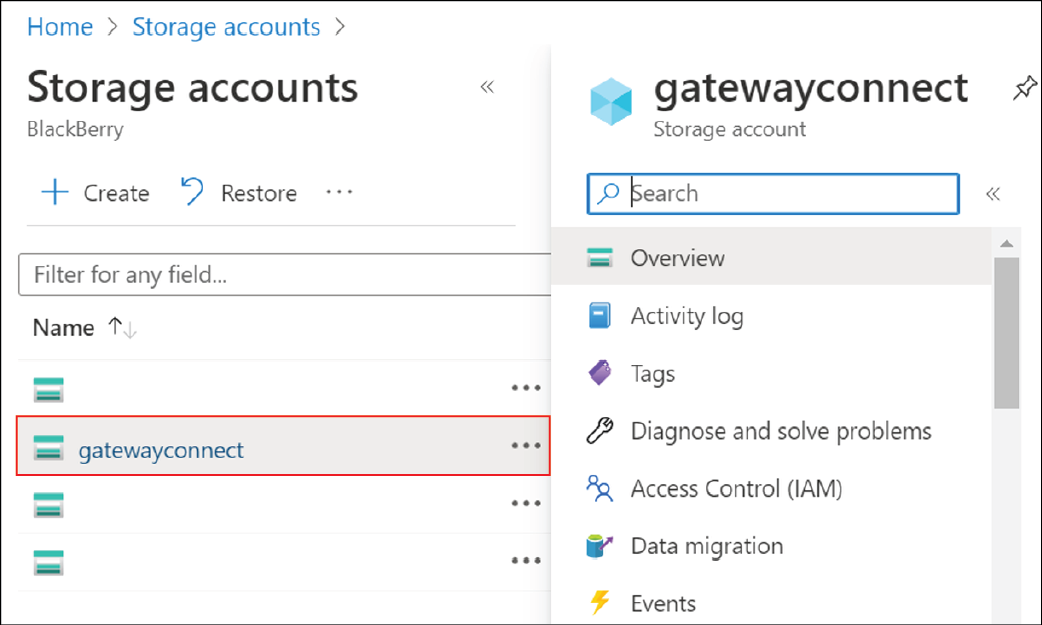
3. To upload the VHD file as a blob, click Storage accounts
Click your storage account. If you don’t have a storage account, create one.
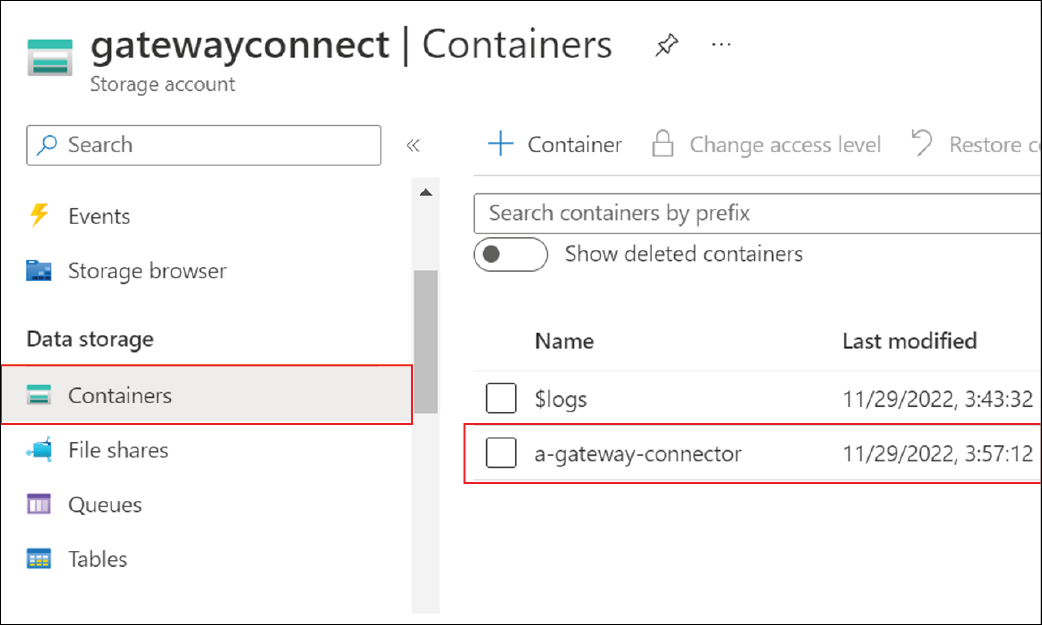
4. Click Containers and click your container
If you don’t have a container, create one.
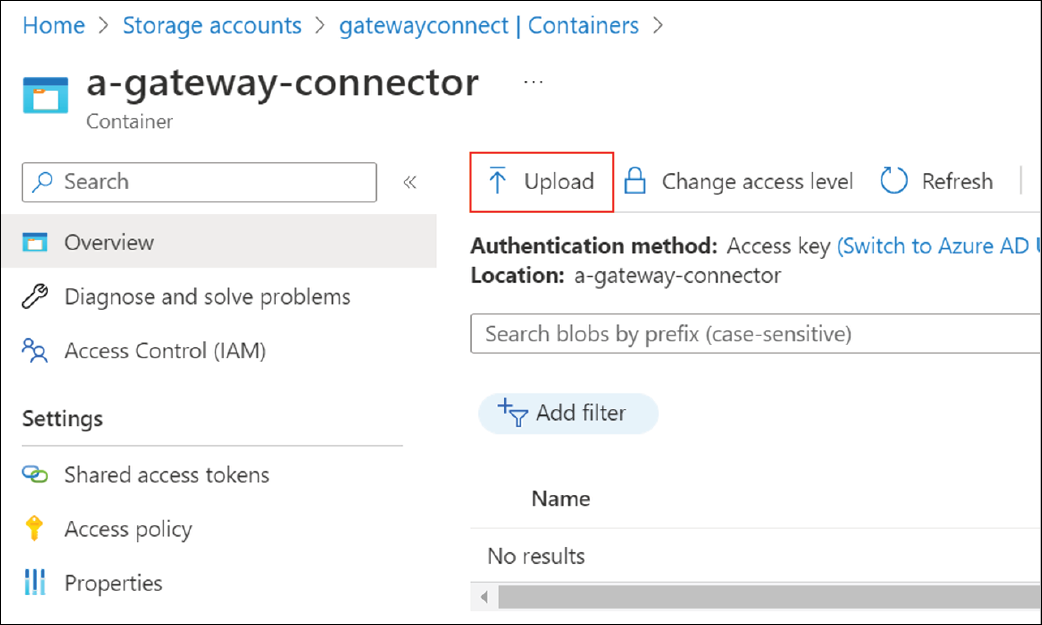
5. Click Upload
In the Files field, upload the cylance-gateway-connector-fixed-<version>.vhd file. Expand Advanced, set Blob type to Page blob, and click Upload.
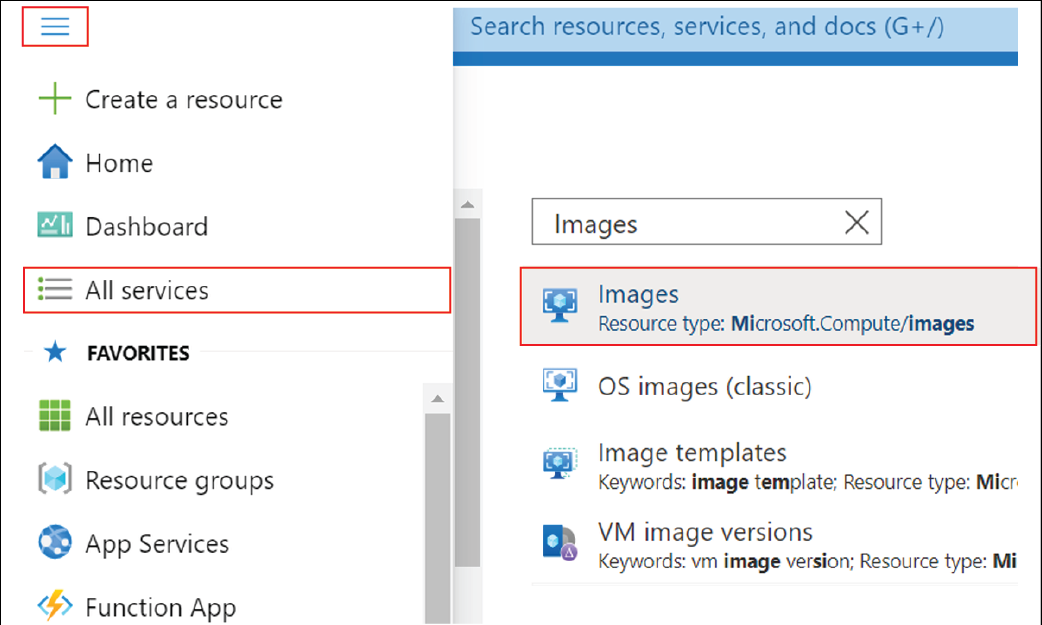
6. Search for the Images service
Click the portal menu > All Services. In the filter services field, type images. Verify that Images uses the resource type Microsoft.Compute/images.
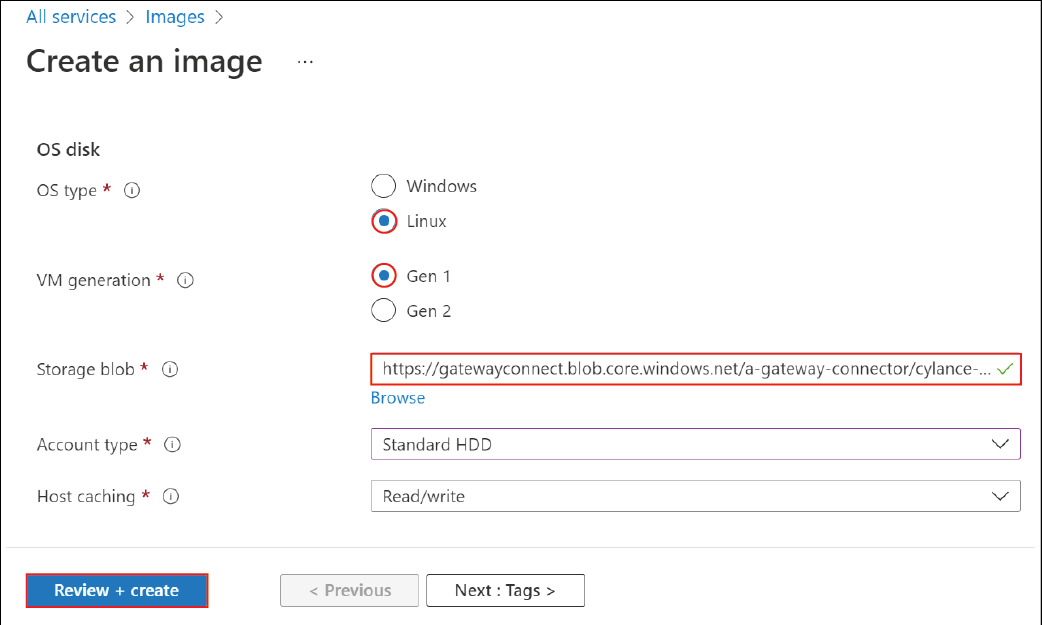
7. Create an image
In Images, click Create and complete the required fields.
In the OS disk section, specify the following:
- OS Type: Linux
- VM Generation: Gen 1
- Storage blob: Navigate to the blob that you created.
Optionally, you can add tags from the Tags tab.
To complete your image, click Review + Create > Create.
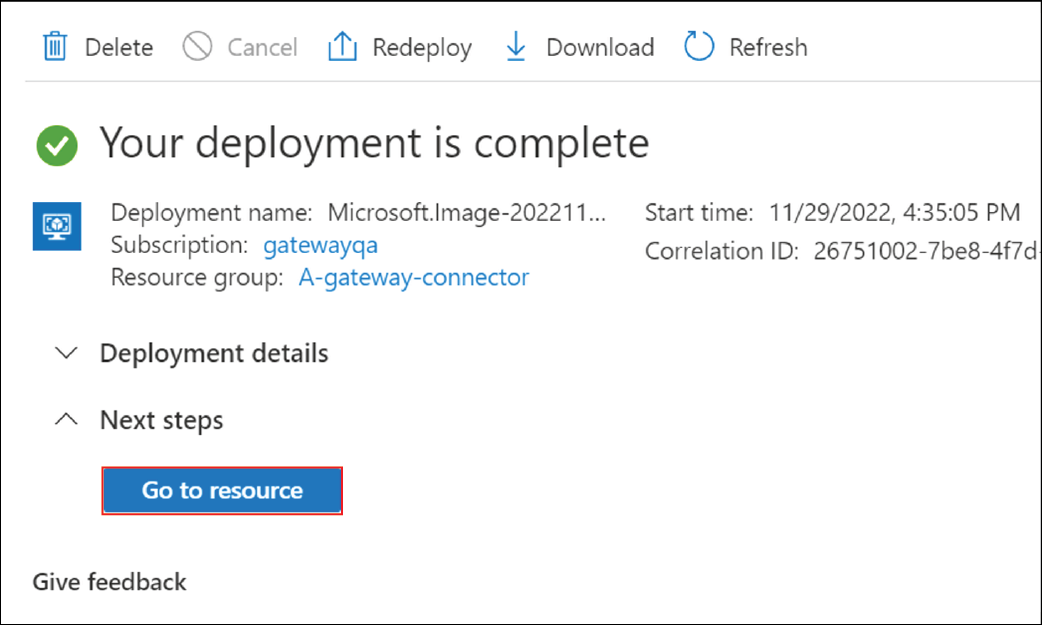
8. Click Go to resource
After Azure creates your image, the Go to resource button takes you to your image.

9. Create a virtual machine
On your image’s overview, click Create VM.
On the Basics tab, specify the following settings:
- Image: Select the image that you created.
- Size: Select a size with that includes 2 vCPUs and a minimum of 5 GB memory.
- Authentication type: Select Password.
- Username, Password, and Confirm password: Enter any values. These field is required, but it is disregarded by the CylanceGATEWAY Connector.
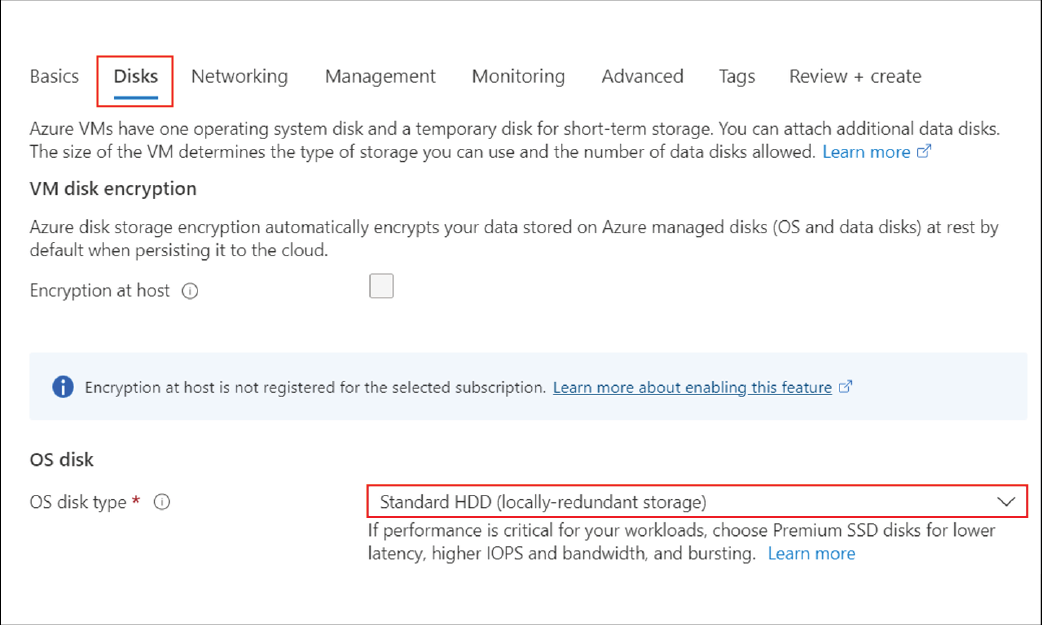
10. Complete the required fields in the remaining tabs
On the Disks tab, in the OS disk type drop-down list, select Standard HDD.
On the Networking tab, complete the required fields for your environment. Ensure that the connector image uses your private network.
On the Management tab, configure the settings as required for your environment.
On the Advanced tab, configure the settings as required for your environment.
On the Tags tab, configure tags as required for your environment.
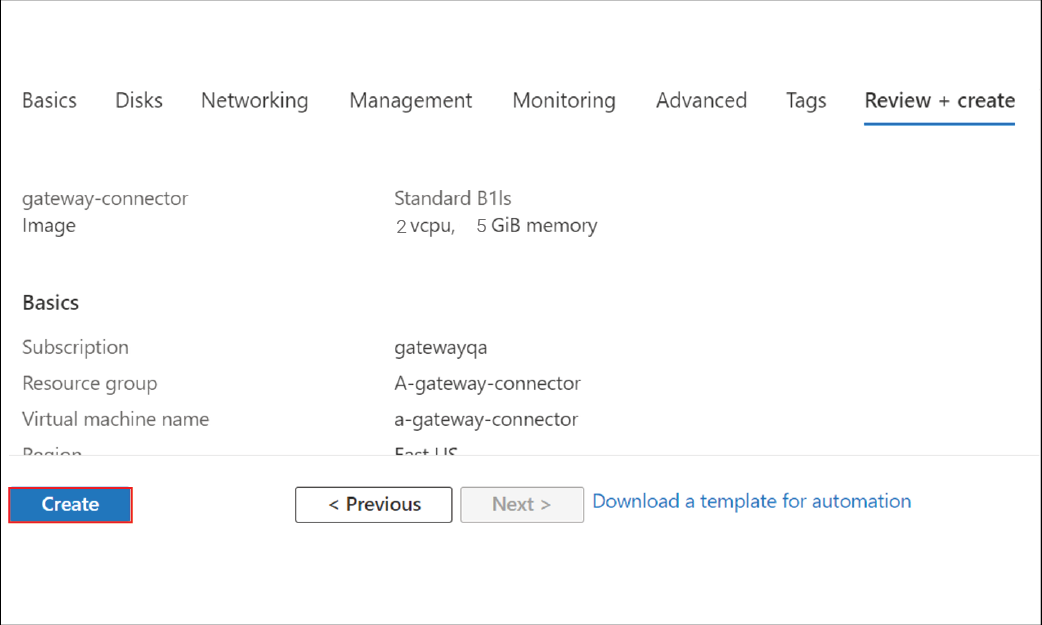
11. Complete your VM confirmation
On the Review + create tab, review your configuration.
To complete the configuration, click Create.
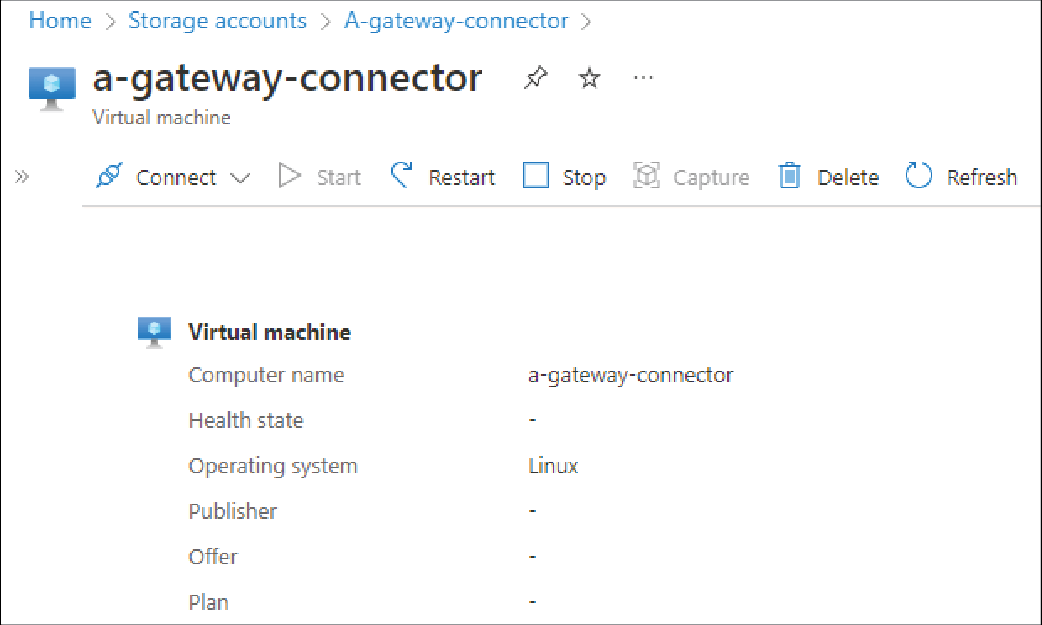
That's it!
You have successfully installed the CylanceGATEWAY Connector to your Microsoft Azure environment.
Note that a timeout error message might display when the VM resource is created. If necessary, refresh the screen.
After you install the CylanceGATEWAY Connector to your Azure environment, you must configure your firewall and enroll the CylanceGATEWAY Connector with the BlackBerry Infrastructure. For more information about setting up the CylanceGATEWAY Connector, see Setting up the CylanceGATEWAY Connector.