Before you install the CylanceGATEWAY Connector in an AWS environment, review the hardware requirements.
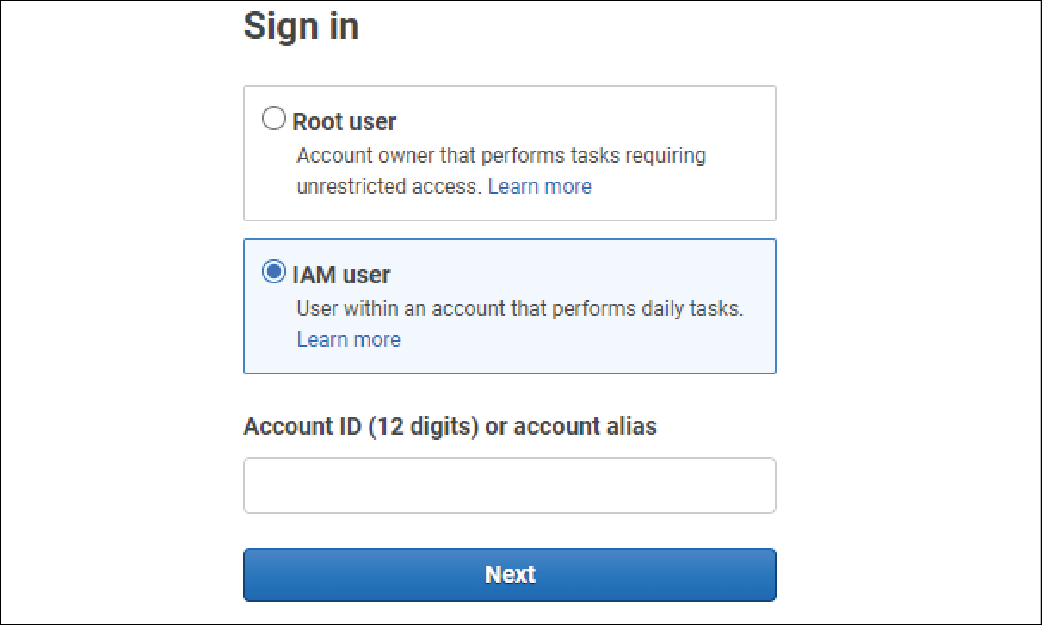
1. Sign in to the AWS management console
To sign in to the portal, go to https://aws.amazon.com/console.
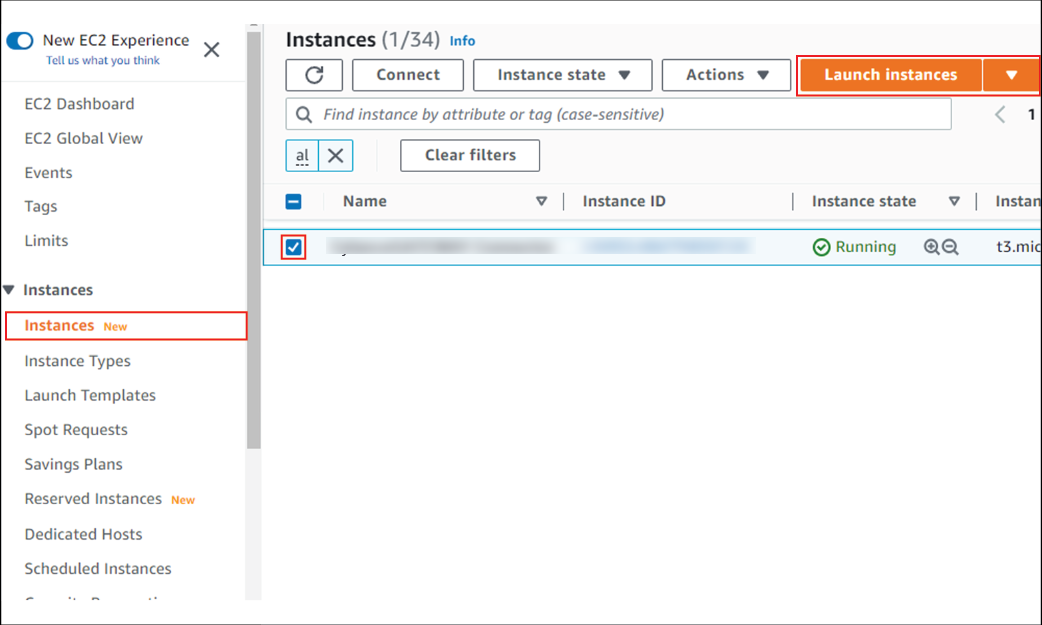
2. Launch the CylanceGATEWAY instance
Open the EC2 service and click Instances > Launch Instances.
On the Launch an instance screen, type a name for the CylanceGATEWAY Connector instance.
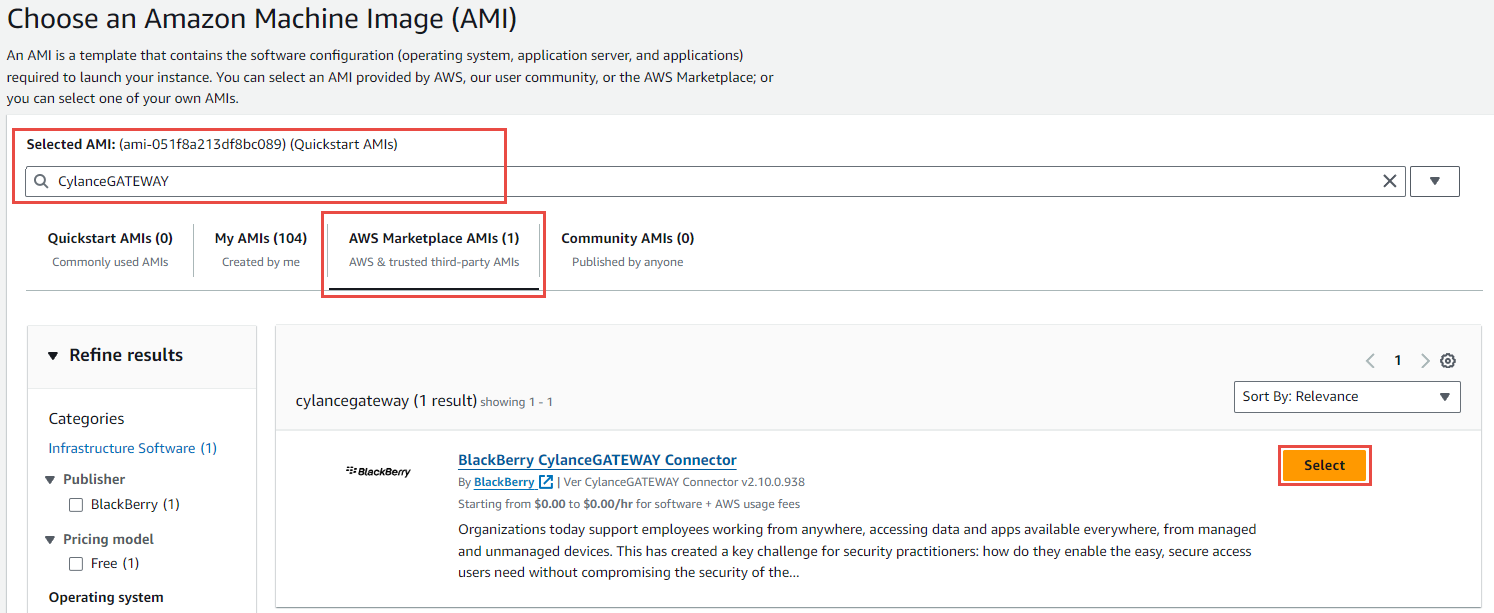
3. Edit the Application and OS images (Amazon Machine Image) section
In the Application and OS images (Amazon Machine Image) section, click Browse more AMIs.
Click the AWS Marketplace AMIs tab. In the Selected AMI search field, type CylanceGATEWAY. Click Select beside the returned AMI.
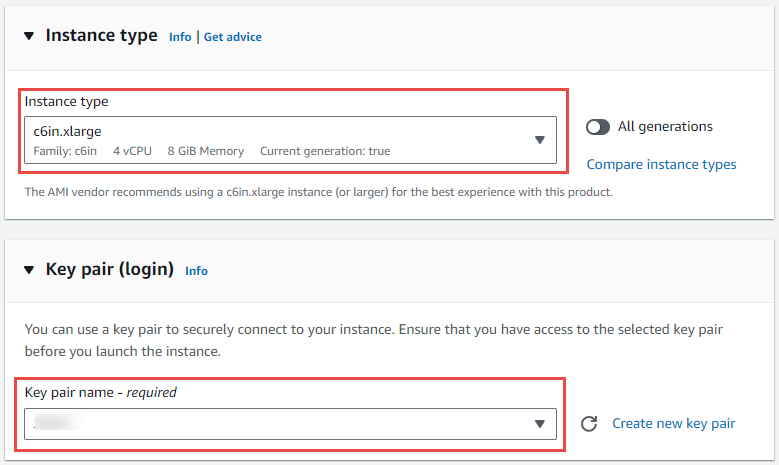
4. Select an instance type and a key pair
Select an instance type according to your organization’s requirements.
BlackBerry recommends an instance type of c6in or c5n for production environments.
Select a key pair to securely connect to your CylanceGATEWAY Connector instance through OpenSSH.

5. Edit the Network settings section
Click Edit and specify the following settings:
- VPC: Select your private network.
- Auto-assign public IP: Optionally, select Enable. You must assign a public IP address to the CylanceGATEWAY Connector only if you do not have a way to access the connector's web interface using the private network that it is installed on.
- Select or create a security group according to your organization’s requirements.
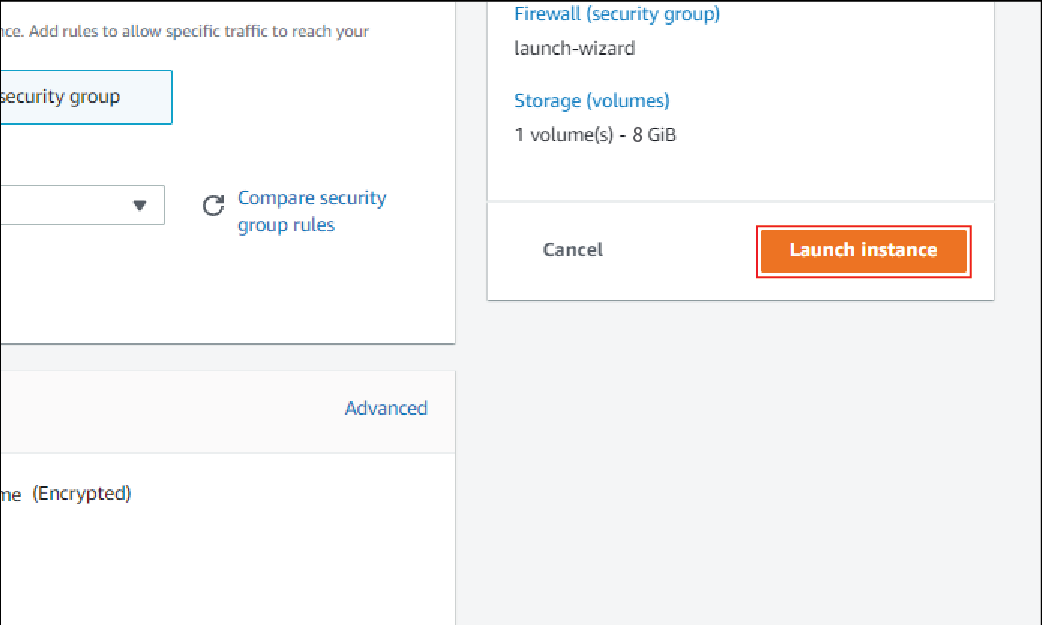
6. Click Launch instance
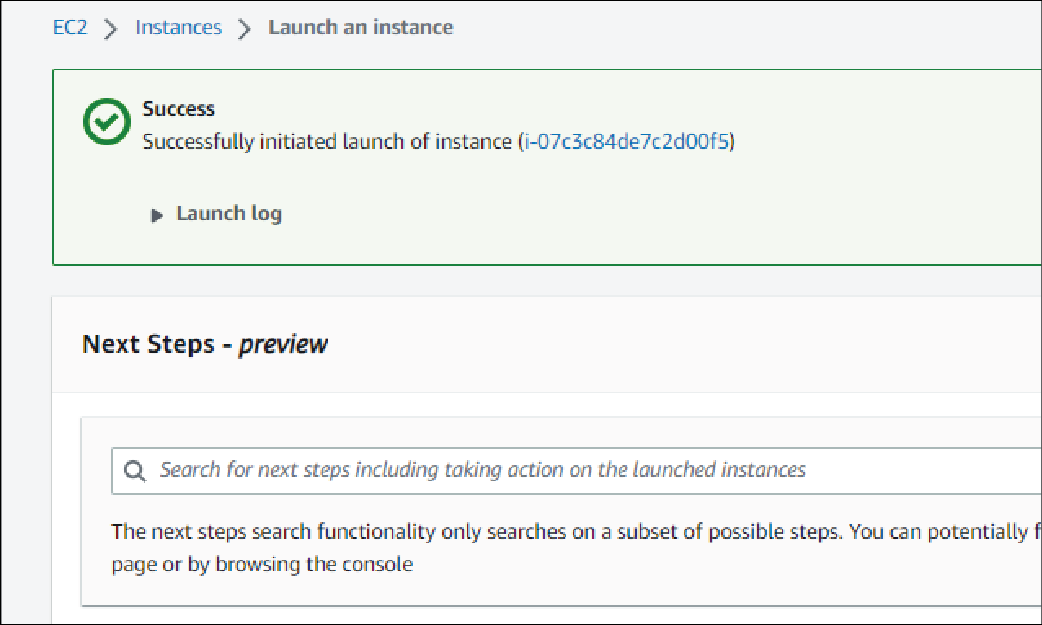
That's it!
You have successfully installed the CylanceGATEWAY Connector in your AWS environment.
After you install the CylanceGATEWAY Connector, you must configure your firewall and enroll the CylanceGATEWAY Connector with the BlackBerry Infrastructure. For more information about setting up your connector, see Setting up the CylanceGATEWAY Connector.