You can create a linked policy template and assign it to all your tenants or a subset of your tenants. If you make a change to a setting in one of the policies, that change will apply to all the tenants that use the policy. This allows you to quickly make changes to multiple tenants instead of updating each tenant separately.
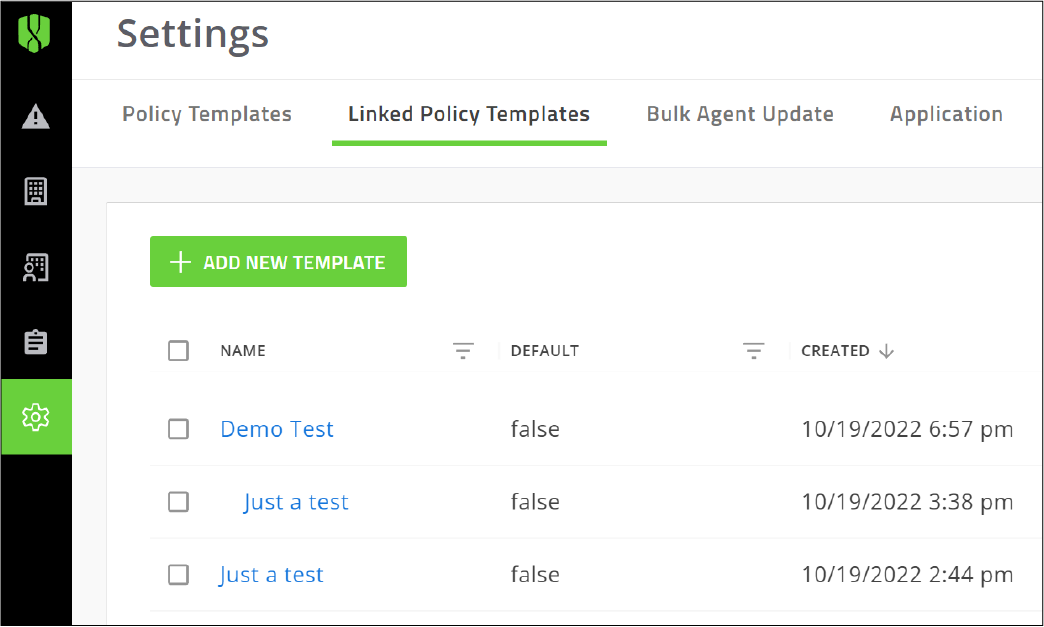
1. Add a new linked policy template
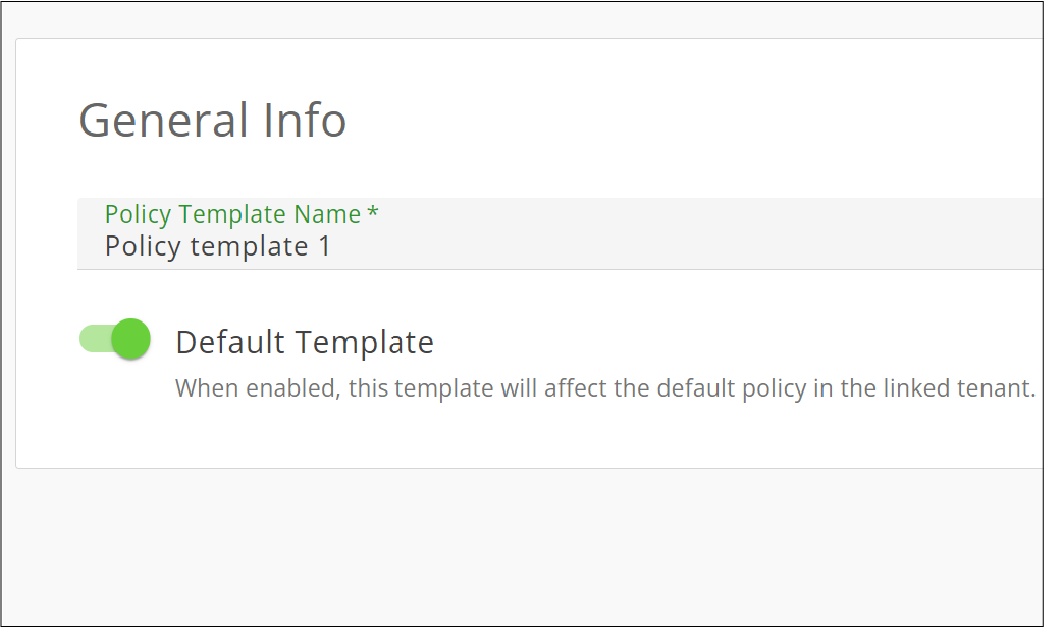
2. Type a name for the template
If you want the linked policy template to override the policy template in your linked tenant, turn on Default Template.
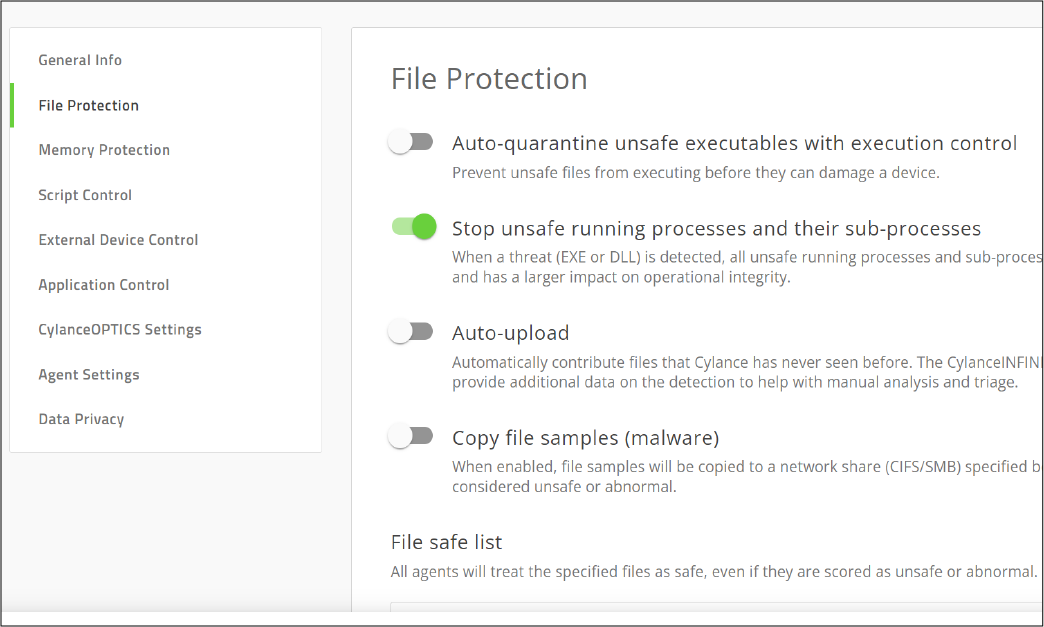
3. Configure your template settings
Click the tabs in the left menu bar and select the settings that you want to apply to the linked policy template.

4. Click Create
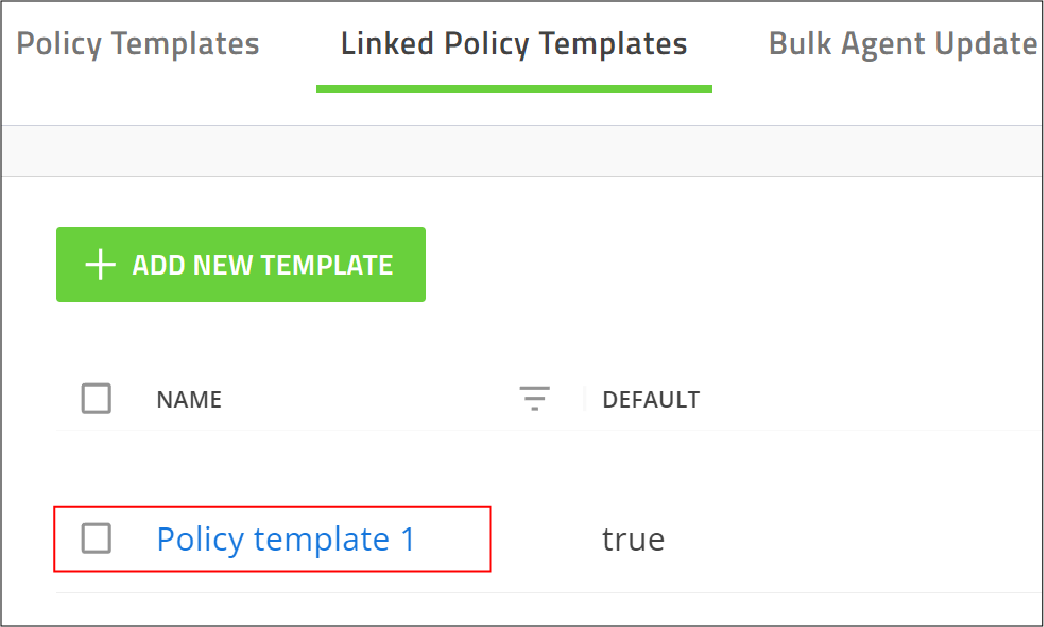
5. Click your linked policy template
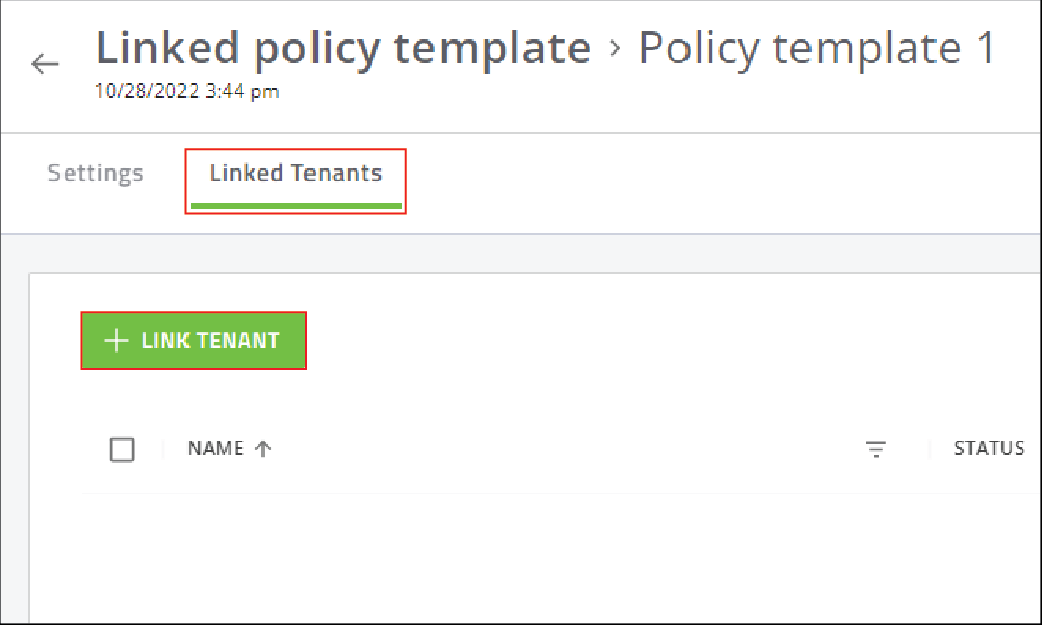
6. Click Linked Tenants > Link Tenant
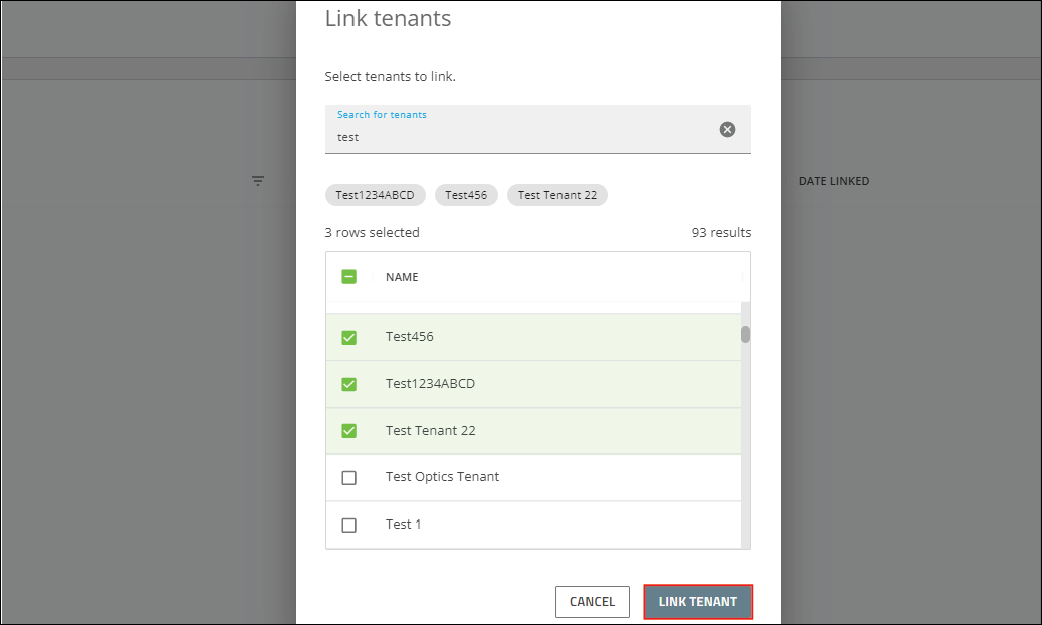
7. Link tenants to the policy template
Select the tenants that you want to link the policy template to, or use the search field to find the tenants that you want to add. Click Link Tenant.
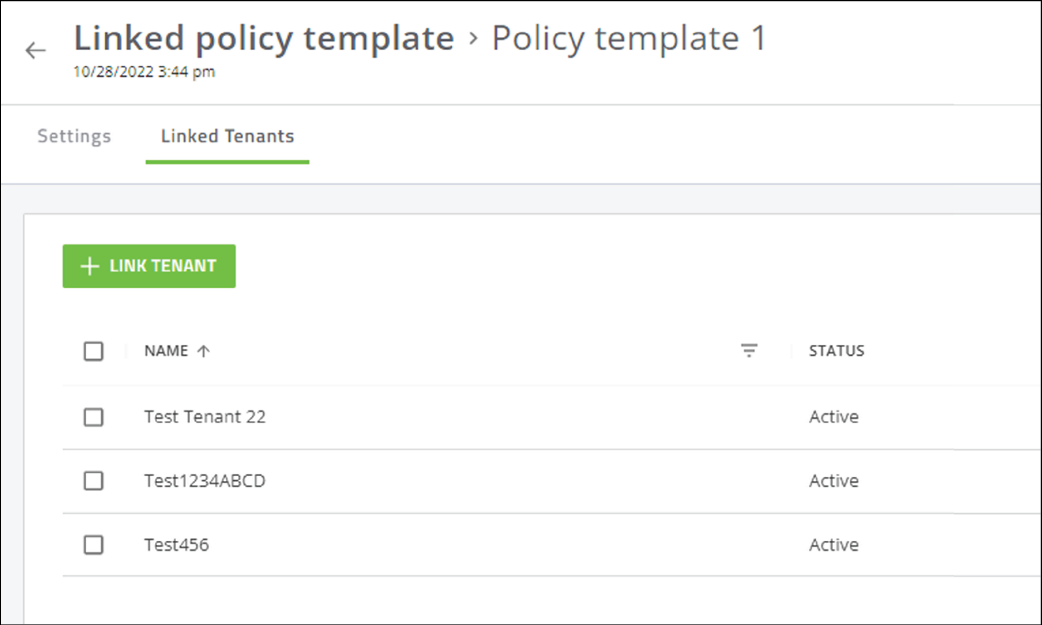
That's it!
You now know how to create a linked policy template and assign it to tenants.
For more information about linked policy template, see Using linked policy templates.