1. Sign in to the Cylance console.
Sign in using your email address and password.
After you enter your password, you may be prompted to enroll with your one-time password app. For more information on how to add or remove the One-Time Password authentication, see Enhanced authentication sign in.
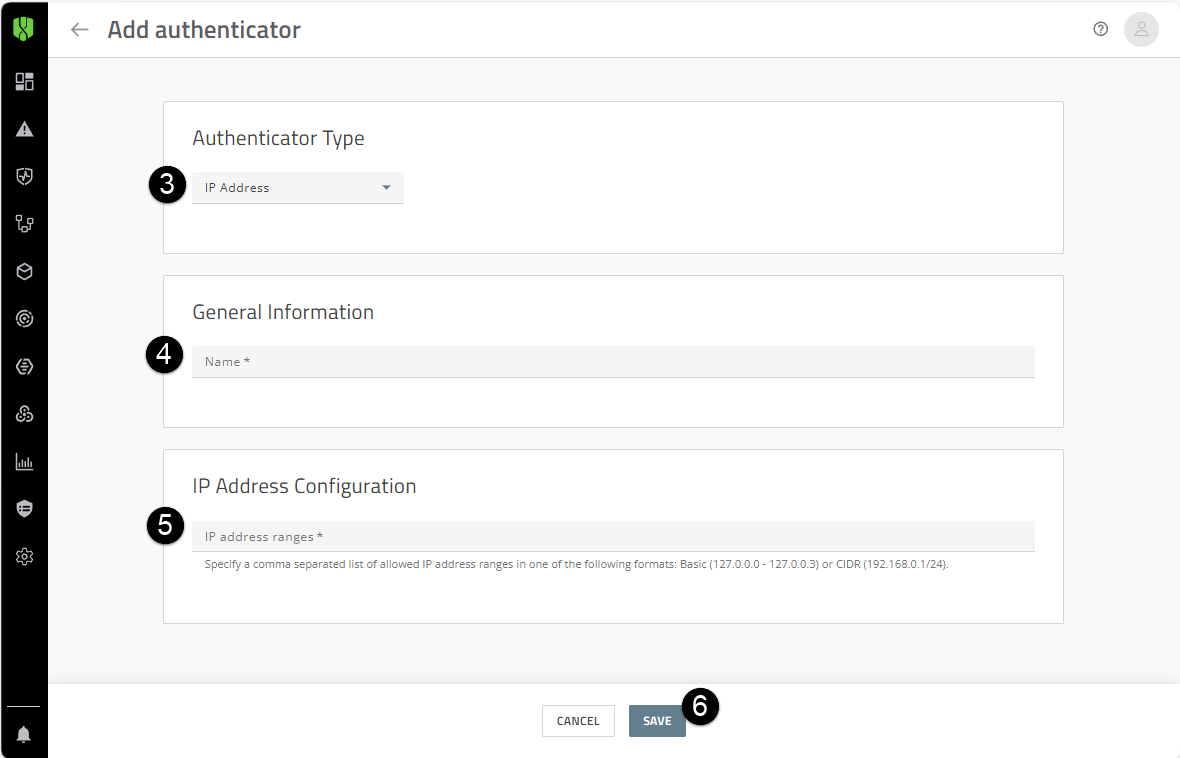
2. Add the IP Address authenticator to your default authentication policy.
To get started, add the IP Address authenticator to your tenant if it doesn’t already exist. If an IP Address authenticator exists and you want to make changes to it, update the authenticator. For instructions, see Add an authenticator.
You can create multiple IP Address authenticators and use them to manage access for different groups, but you can assign only one authenticator to a policy.
- On the menu bar, click Settings > Authentication.
- Click Add Authenticator.
- In the Authenticator Type drop-down list, select IP Address.
- In the General information section, enter a name for the authenticator.
- In the IP address ranges field, specify one or more IP addresses, IP ranges, or CIDRs. Separate entries with a comma. For example, IP range: 192.168.0.100-192.168.1.255 or CIDR 192.168.0.10/24.
- Click Save.
If multiple authentication types have been added to the default policy, users will be prompted for each authentication type in the order that they are listed in the policy.
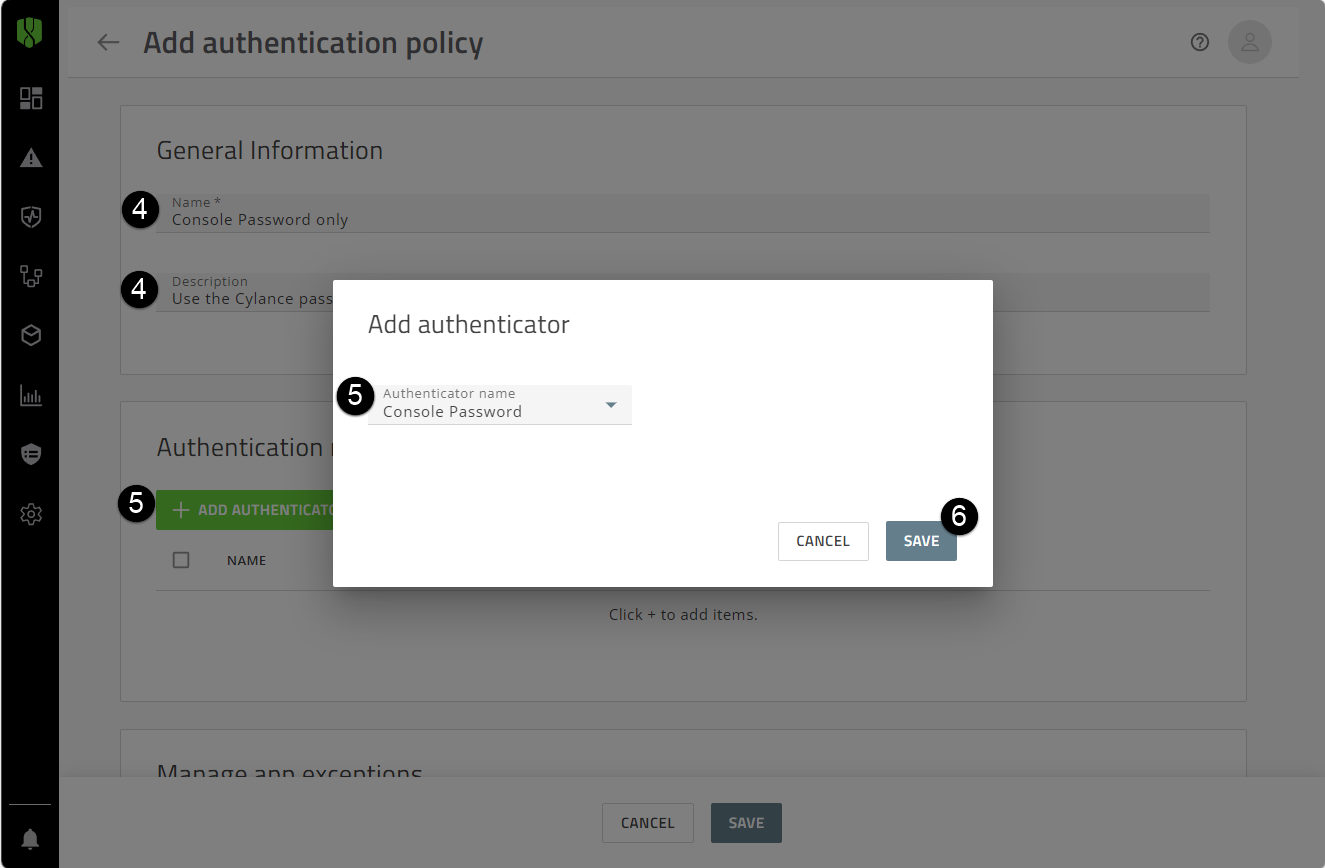
3. Optional: Add an authentication policy for one or more administrators.
It is recommended that you create an authentication policy that requires only a Cylance console password and assign it to one or more designated administrators. You can use this policy as a failsafe while you trial the console and IP address authentication policy.
Make sure that you have an existing Cylance Administrator Password authenticator for administrators to use their Cylance console credentials only. If it doesn’t already exist, add one. For instructions, see Add an authenticator.
- Click Policies > User policy.
- Click the Authentication tab.
- Click Add policy.
- Add a name and description for the policy.
- Click Add Authenticator and add the Cylance Password authenticator.
- Click Save.
- When you are prompted to assign the policy, click Yes.
- Click Add User or Group.
- Search for and select the administrators.
- Click Add.
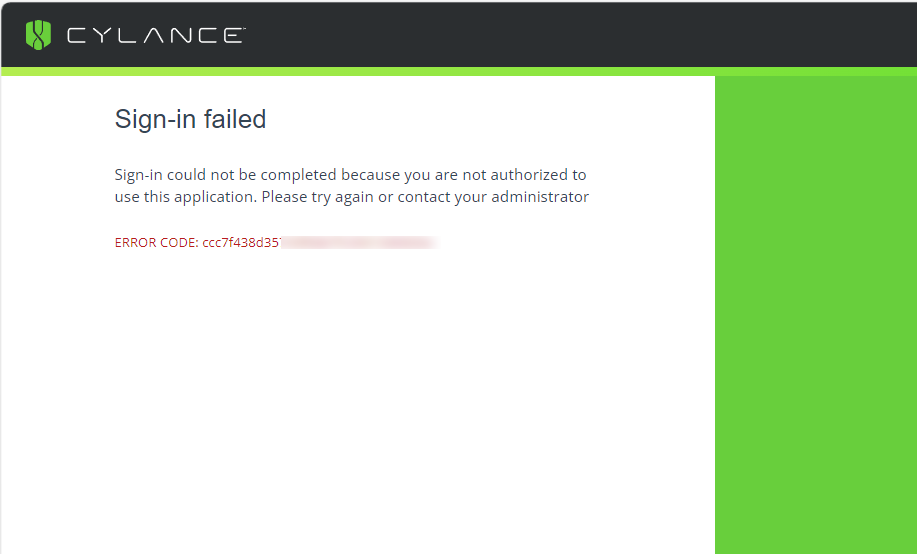
4. Test the Cylance and IP Address policy.
Sign into the console using an administrator account that has the Cylance console password and IP Address policy assigned. Users will receive a Sign-in failed message after entering their email address.
That's it!
You have now set up IP Address authenticator and restricted users’ access to the Cylance console based on their IP address.
For more information about authentication policies, see the Cylance Endpoint Security Setup content.
To remove the IP Address restrictions that are assigned to the default authentication policy, select the authentication policy from the Default Authentication page (Settings > Authentication), in the App Authentication section, select the IP Address authenticator and click Delete.