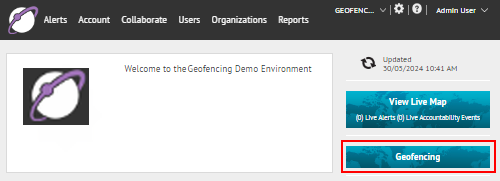
1. Click Geofencing to access the AtHoc Geofencing application
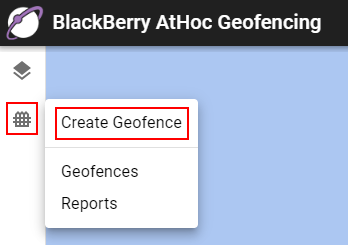
2. Click Create Geofence
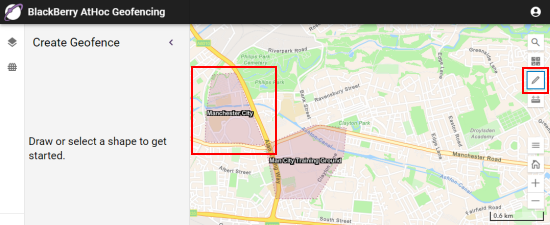
3. Select an imported shape layer or draw a shape on the map
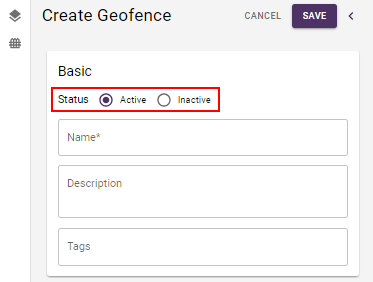
4. Select the Active or Inactive status option
Tip: A geofence in the Inactive status does not appear on the map.
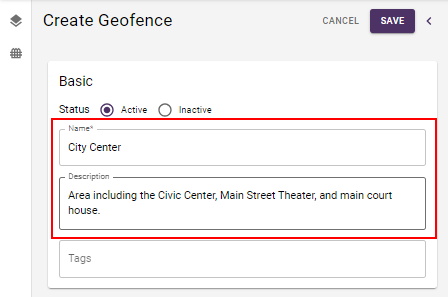
5. Enter a name and description
The following special characters are not allowed: ` ! $ % & ^ = . ; \ : ? " < > | [ ].
Tip: The Name field has a 100 character limit. The Description field has a 300 character limit.
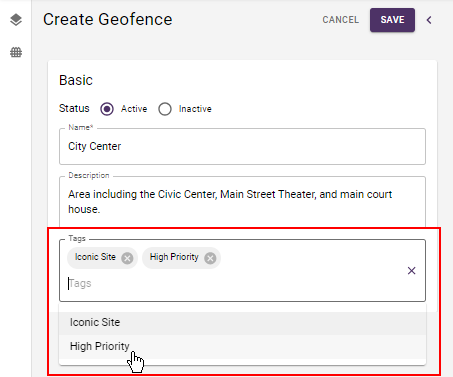
6. (Optional) Select a predefined tag, or type to create a new tag
Tip: You can add up to 5 tags.
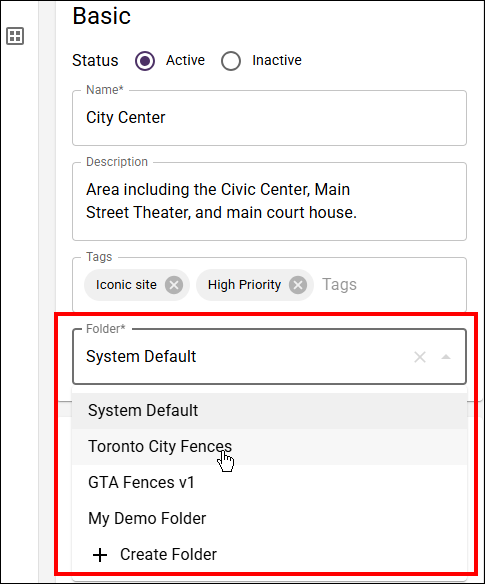
7. (Optional) Select an existing folder or create a new one
Tip: New geofences are automatically added to the System Default folder.
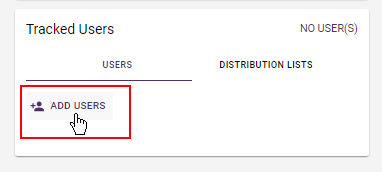
8. To add individual tracked users, click Add Users
Tip: You can add up to 50 users.
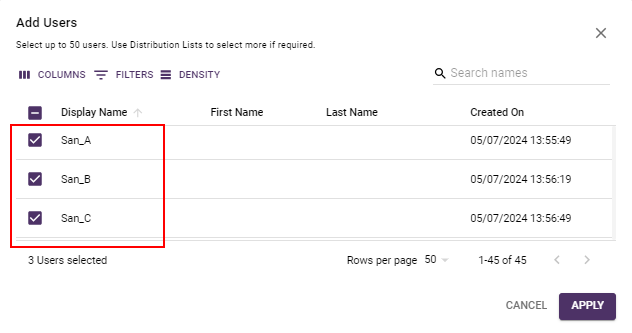
9. Select the users on the Add Users dialog
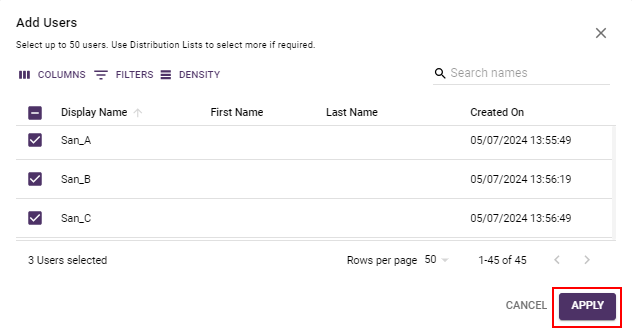
10. Click Apply
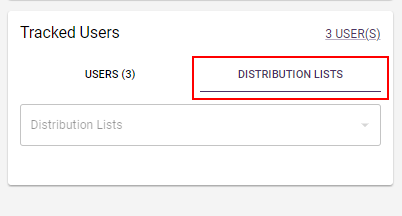
11. To add tracked users by distribution list, click Distribution Lists
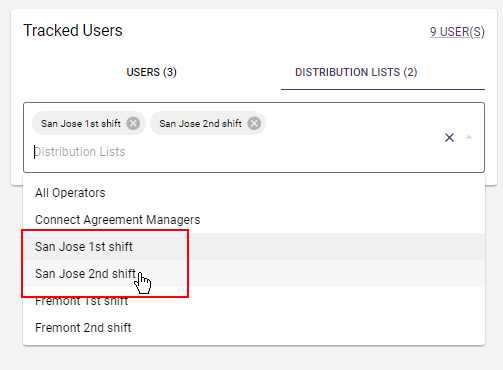
12. Select distribution lists from the pull-down menu
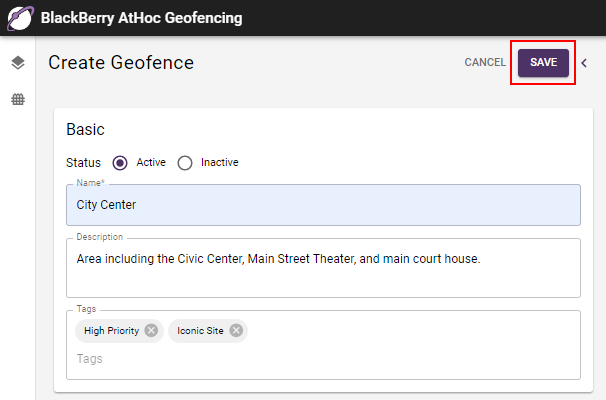
13. Click Save

14. That’s it!
You have successfully created a new geofence!
To learn more about the AtHoc Geofence app, see BlackBerry AtHoc Geofencing.